How to Add Supports to Resin Prints: Placement and Settings
Where resin supports go and why: tilt angle, islands, auto versus manual placement, tip size and depth, with Chitubox, Lychee and PrusaSlicer values.
A resin print hangs upside down from the build plate, and every layer is peeled off the release film before the next one cures. Learning how to add supports to resin prints is really learning where that peel force and the part’s own weight will win: at islands, overhangs and low points that would otherwise start printing in mid-air. The order that avoids most failures is fixed. Orient first, lift the model, auto-generate, check every island, then place and size the manual supports by hand.
What a resin support actually does
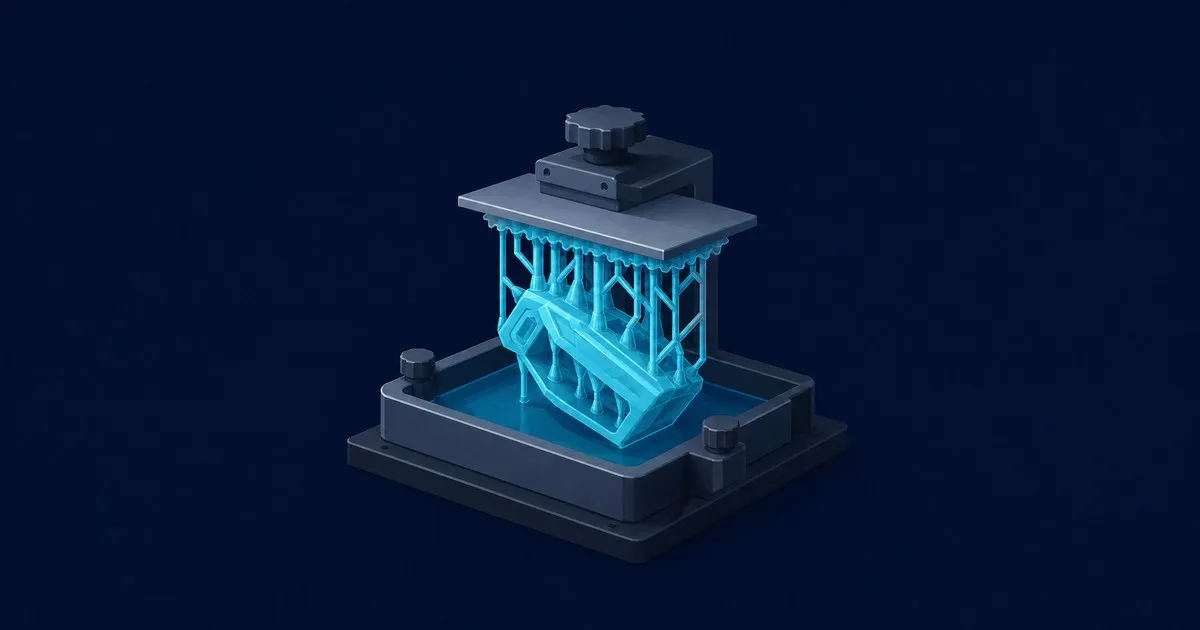
Formlabs describes the structure in three parts: a raft that adheres to the build platform, scaffolding that stems from the raft, and touchpoints where the scaffolding meets the model. It lists overhangs, spans and unsupported minima as the geometry that needs support, and warns that even a self-supporting bridge can warp or fail without it. A minimum, in Formlabs’ definition, is the lowest point of any area of the model relative to the platform; Prusa calls the spots where an object would start in mid-air islands. The first layer of such a region has nothing under it, so a tip has to be there before it cures.
FDM supports are a lattice that fights gravity. Resin supports are thin pillars that fight the peel, which is why tip geometry matters more than tip count. The FDM side is covered at slicerguide.com.
Step 1: orient before you support
Prusa’s orientation article explains the 45-degree tilt most resin prints get: large flat horizontal surfaces need a lot of force to separate from the bottom of the tank, and tilted objects spread their supports more evenly. Rotate until the island count is as low as it will go, because avoiding a support beats removing one.
Chitubox’s support guide sets the thresholds: an overhang tilted less than 45 degrees from the vertical may print without support, and a bridge under 5 mm may span on its own. Formlabs’ Form 4 specifications are looser because of its low-force peel: 10 degrees from level as the minimum unsupported overhang angle, 5 mm as the maximum unsupported overhang length, and 29 mm as the maximum span for a 5 mm wide, 3 mm thick beam. On a hobby LCD printer with a FEP vat, the Chitubox numbers are the rule and the Formlabs numbers are the ceiling.
Hollow anything bulky first. Prusa’s hollowing article gives the reasons: a smaller area per layer needs less force to detach from the display, and a lighter model needs fewer supports. Add at least two drain holes and keep the wall at or above the 1 mm minimum.
Step 2: lift the model and auto-generate
Set the Z lift height first. Chitubox defines it as the distance between the lowest point of the model and the platform, default 5 mm, and Anycubic’s Photon Workshop guide gives the reason: raising the model before adding supports stops it fusing with the raft and protects the bottom surface. Then run the auto-supporter on a Medium preset. Chitubox and Lychee ship Light, Medium and Heavy; PreForm’s Auto-Generate All does the same job, with the caveat on that page that more supports raise both the chance of success and the post-processing work.
Two knobs decide how much it adds. Anycubic’s support angle is the angle between the supported surface and the horizontal plane, and a larger angle generates more supports; its anchor distance is the spacing between anchor points, and a shorter distance generates more. Chitubox illustrates the same pair at 30 versus 60 degrees and 1.0 versus 0.5 mm.
Step 3: find every island and support it by hand
Auto-support misses islands, and every slicer can show them. Anycubic’s Check Islands colours each layer green for supported, yellow for connected but possibly hanging, and red for completely unsupported. PreForm highlights unsupported minima in red and has offered a Support All Minima button since 3.32.0, but its warning does not stop a job from starting, so the check is yours. Lychee’s Island Detector highlights the largest islands and draws white rings that mark the lowest point of each section.
Lychee’s manual supports page gives the routine. Scrub the layer slider until only the bottom major islands show, put Medium or Heavy supports on them about 2 mm apart and close to the edges, then switch to Light and Mini supports for the smaller islands and details, with each tip meeting the surface at roughly 90 degrees. Chitubox uses A, D and E for add, delete and edit; PrusaSlicer adds a point on left-click and removes on right-click.
Step 4: size the contact
Tip diameter and depth trade strength against the mark left behind. Lychee’s support components page puts it plainly: a larger tip diameter has more strength to hold the model and leaves a larger impact site, and penetration is the depth the tip enters the object. Chitubox illustrates its tip upper diameter at 0.3 and 0.6 mm; PrusaSlicer’s listed defaults are a 0.6 mm head front diameter, 0.6 mm head penetration and a 1.3 mm pillar. Formlabs’ advanced settings page adds the compensation rule: increase Density when you reduce Touchpoint Size, and expect a higher Height Above Raft to ease removal at the cost of a less stable base.
Settings to start from
Chitubox, on an Elegoo Mars or Anycubic Photon Mono class LCD printer, standard resin at 0.05 mm:
| Setting | Start value | Why |
|---|---|---|
| Tilt | 45° on the long axis | Spreads supports and cuts per-layer peel area (Prusa) |
| Z lift height | 5 mm | Chitubox default; keeps the model off the raft (Anycubic) |
| Preset | Medium auto, Heavy by hand on bottom islands | Lychee’s placement routine |
| Support angle | Between Chitubox’s 30° and 60° examples; raise it while islands stay red | Larger angle, more supports (Anycubic) |
| Touch tip distance | 0.5 to 1.0 mm auto; about 2 mm hand-placed on base islands | Chitubox examples; Lychee spacing |
| Tip diameter | 0.3 mm on detail, 0.6 mm where the load is | Chitubox’s two illustrated values; PrusaSlicer’s 0.6 mm default |
| Contact depth | Near PrusaSlicer’s 0.6 mm penetration | Deeper is stronger and leaves a bigger mark (Anycubic) |
| Raft | Skate or cross grid | Chitubox options |
Change one variable per print, and never shrink tip size and density in the same slice.
How to verify
- Scrub the layer slider from the raft upward before slicing. Pass criterion: no red or yellow layer, and every island beginning on a tip.
- Print it and read the failure. A cured sheet on the film with nothing on the plate is a first-layer problem, covered in resin print not sticking to the build plate. A part left on the film with its tips snapped or pulled out is a contact problem: go up one preset on the bottom islands or add tips 2 mm apart before touching exposure; the Photon Mono version is at anycubicguide.com. A clean split at one Z height is layer separation, not a support fault.
- Only then tune exposure, with the stepped test in how to calibrate resin exposure time, rather than adding supports to a layer that is not bonding.
- Inspect the marks after removal. If a mark is larger than the detail beside it, drop tip diameter on that area only and keep density, then wash and cure as usual.
Related across the network
- Anycubic Kobra vs Photon: Which 3D Printer to Buy — anycubicguide.com
- Anycubic Photon Mono Resin Sticking to FEP: Causes and Fixes — anycubicguide.com
- Anycubic Resin Exposure Time Settings Explained — anycubicguide.com
- Resin Types Compared: Which Anycubic Resin to Print With — anycubicguide.com
- Photon File Validator Is Archived: Use UVtools Instead — anycubicguide.com
Sources
- How supports work in SLA printing, Formlabs Support
- Reducing unsupported minima in PreForm, Formlabs Support
- Supporting a model in PreForm, Formlabs Support
- Editing advanced settings for supports in PreForm, Formlabs Support
- Design specifications for 3D models (Form 4 generation), Formlabs Support
- A Complete Guide about Adding Supports in SLA/DLP/LCD 3D Printing, CHITUBOX Docs
- Configure Support Parameters, CHITUBOX Docs
- How to Add Support in Anycubic Photon Workshop, Anycubic
- Manual Supports, Lychee Slicer Documentation
- Support Components, Lychee Slicer Documentation
- Tree supports (SLA), Prusa Knowledge Base
- Object orientation, Prusa Knowledge Base
- Hollowing, Prusa Knowledge Base
Related

Resin Print Layer Separation: Causes and Fixes
A troubleshooting guide to resin print layer separation, with checks for exposure, temperature, peel force, supports, hardware, and post-cure cracks.

Resin Print Not Sticking to Build Plate: 7 Fixes
Why resin prints stick to the release film instead of the build plate, how to tell the failure modes apart, and the seven fixes that resolve most of them.

Best Resin 3D Printer for Miniatures: 5 Picks
Five resin 3D printers for miniatures are compared by XY pixel size, build volume, peel system, leveling, connectivity, and budget.